December 4th 2003 Build
General
![]()
This video is the earliest form of gameplay seen of the game, showing a build dated December 4th 2003 - Version 8.016
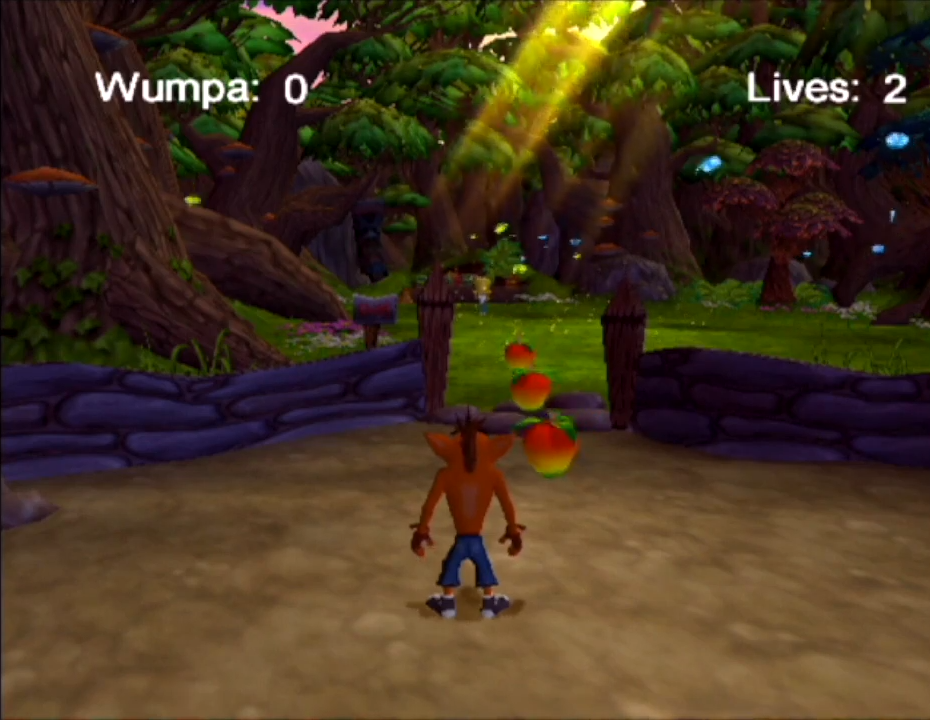
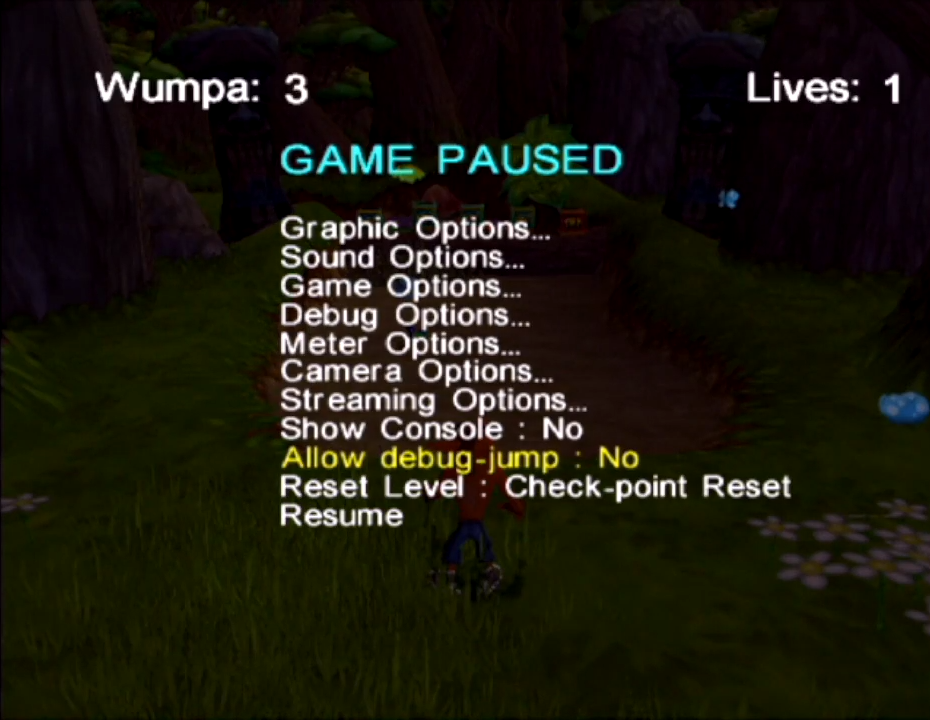
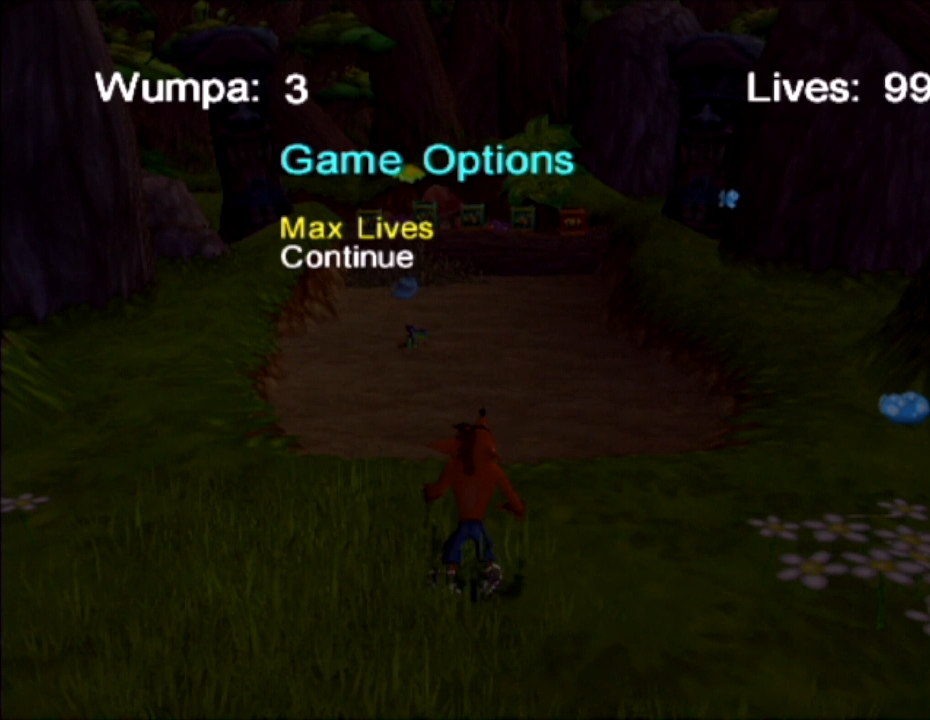
- The HUD is made of debug font text.
- There are many placeholder sounds and music, some coming from Crash Bandicoot: The Wrath of Cortex, or earlier Crash games.
- The pause menu includes debug features and additional settings not seen in the final game.
- The camera is unlocked all the time.
- Crash makes the classic death noise upon dying.
- The life pickup visual is Aku Aku at this point.
- Pickiing up Aku Aku doesn't cause him to appear beside Crash.
- The game stutters after crossing chunks.
- There aren't any invisible walls.
- Picking up wumpa and lives doesn't make the HUD show up.
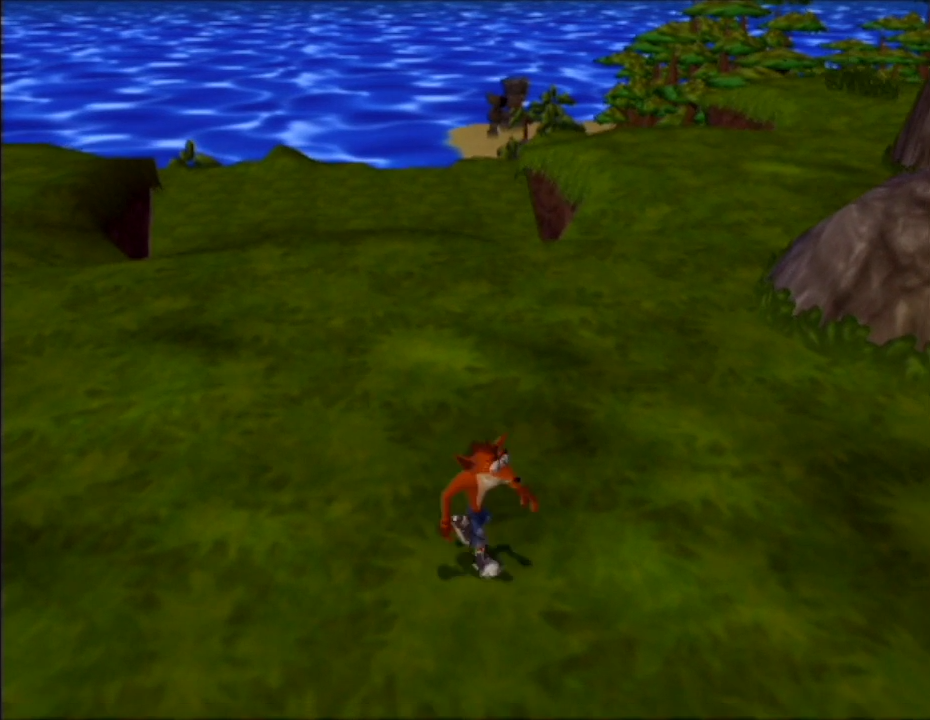
N.Sanity Island

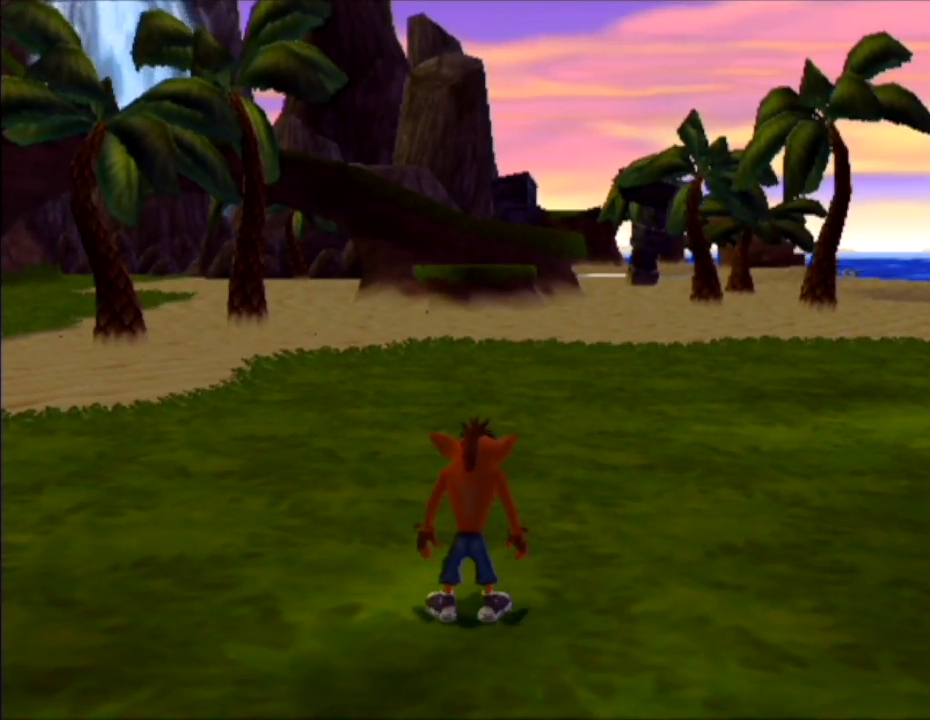
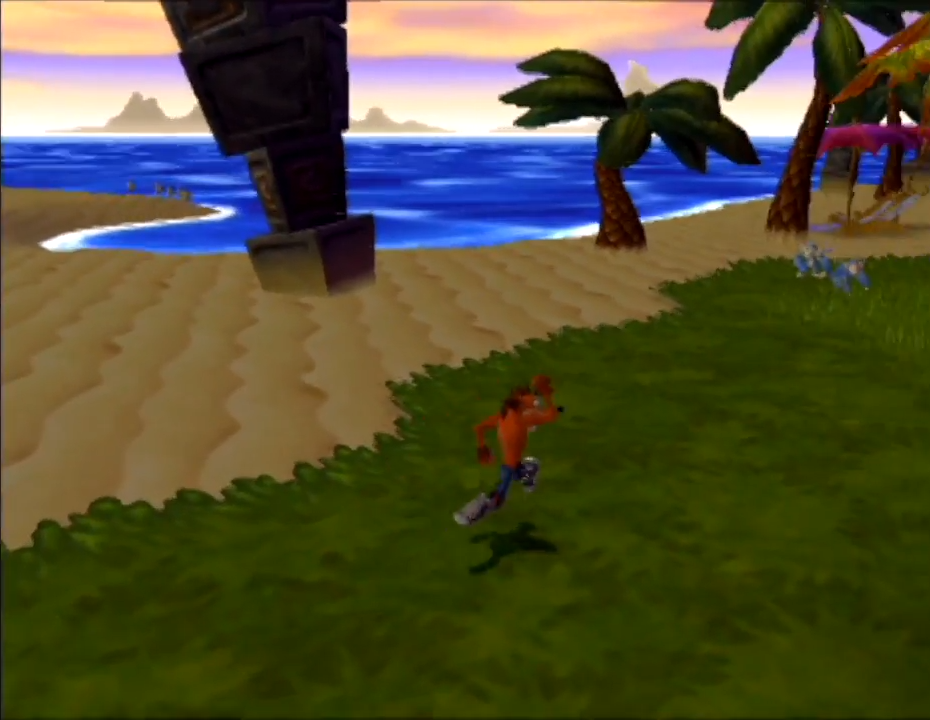
- The game starts at Crash's hut as opposed to the beach area.
- Many puzzles, collectibles and crates are not present.
- Instead of multiple worm jumps, a ramp leads to the area near the boss arena.
- The ramp leading to the farm is exactly the same as in the demo.
- There is no second small island off the coast.
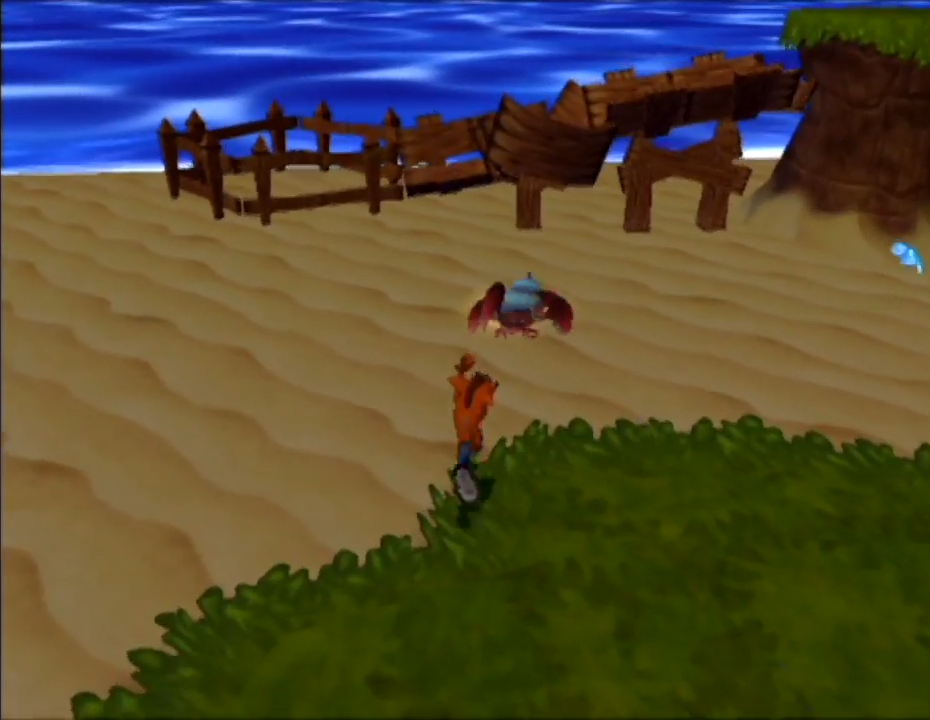
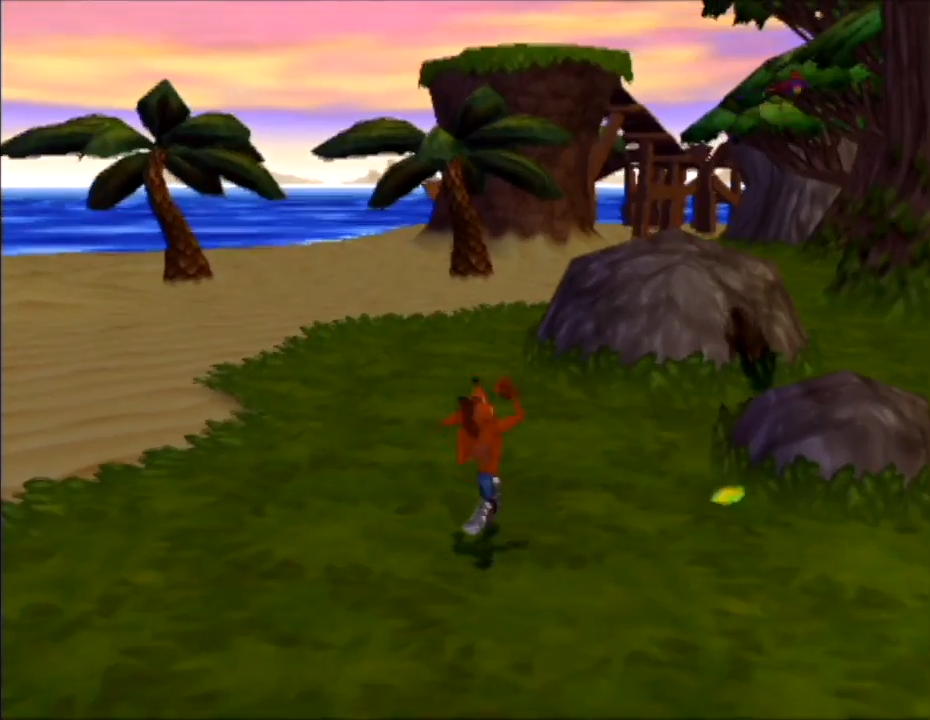
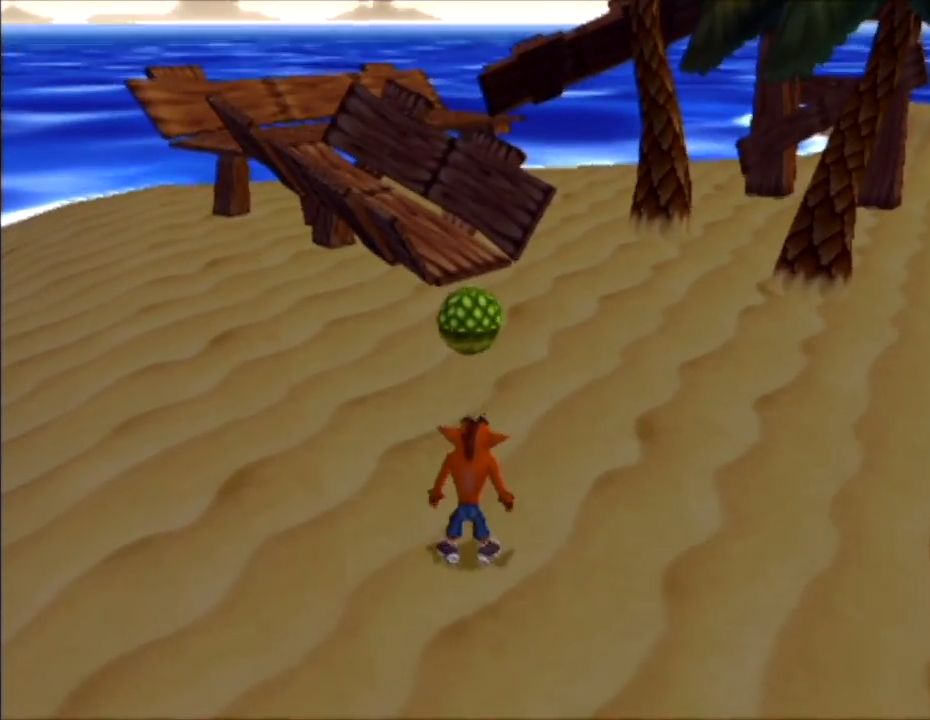
- The beach area extends along the coast to the area blocked by rocks later in development.
- The extended area features wumpa tree nut puzzles not seen in the final game.
- The wumpa tree nut is green as opposed to brown.
- The nut also has a max distance it can travel before respawning unlike in the final game.
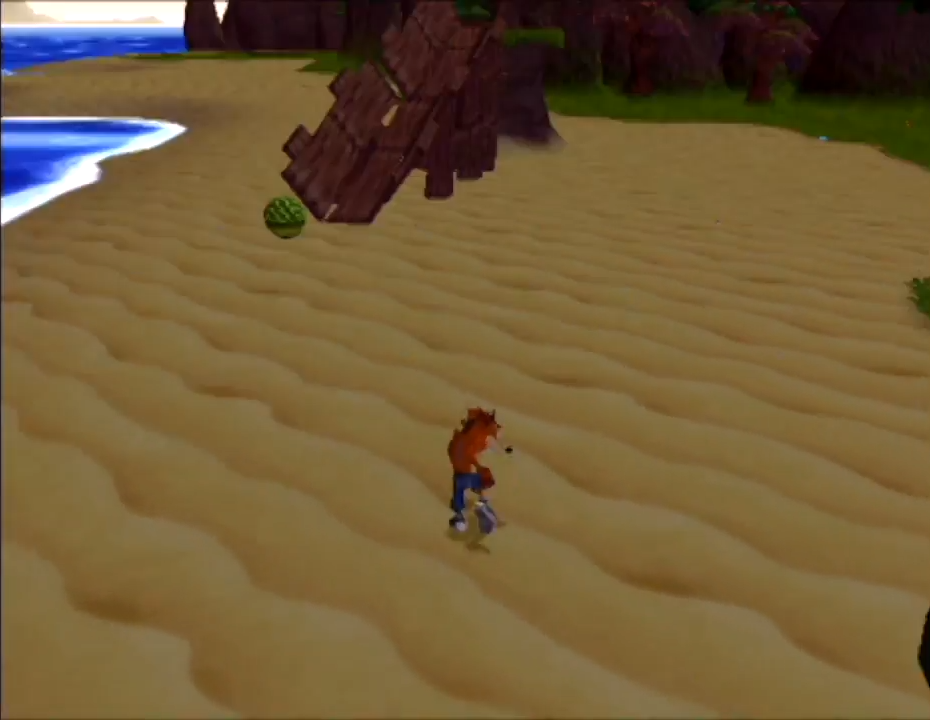
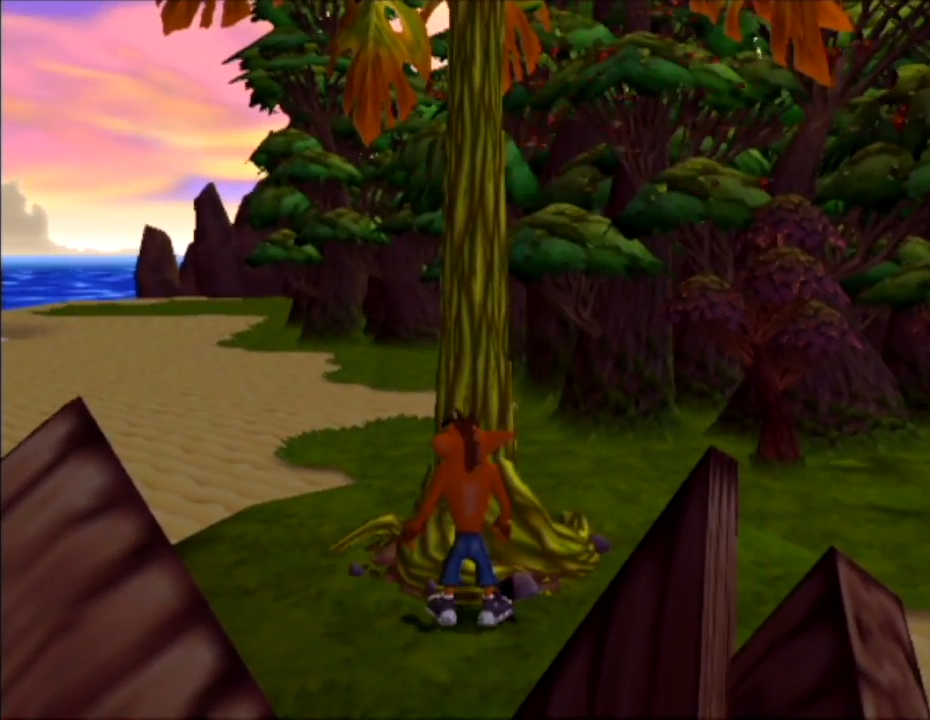
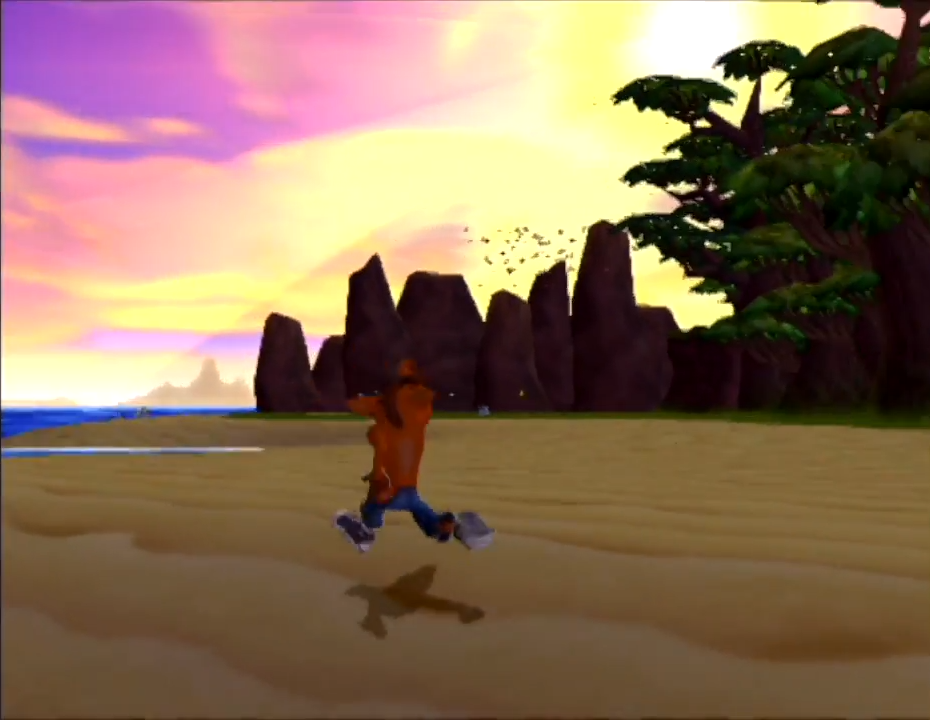
- After a simple puzzle the area ends in a dead end.
- Enemies, bird clumps and seagulls are all present in this extended area.
Jungle Bungle
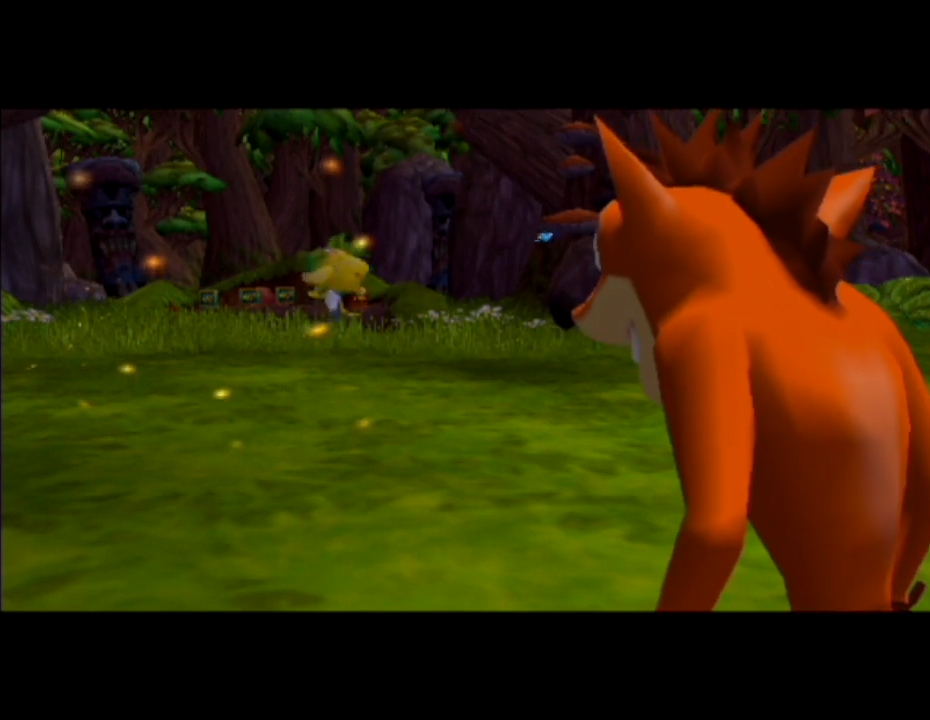
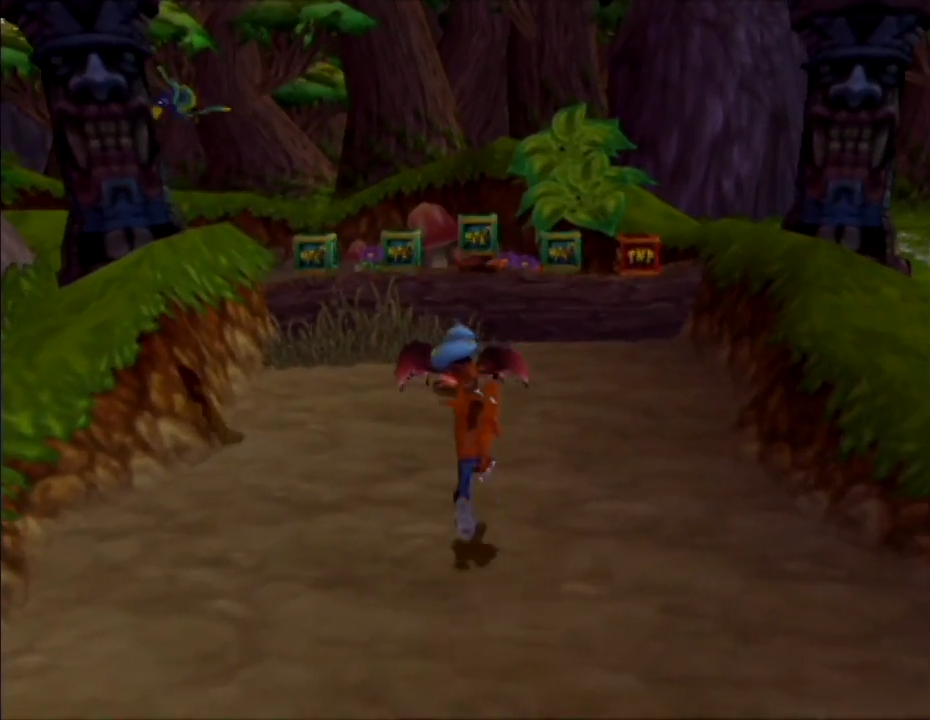
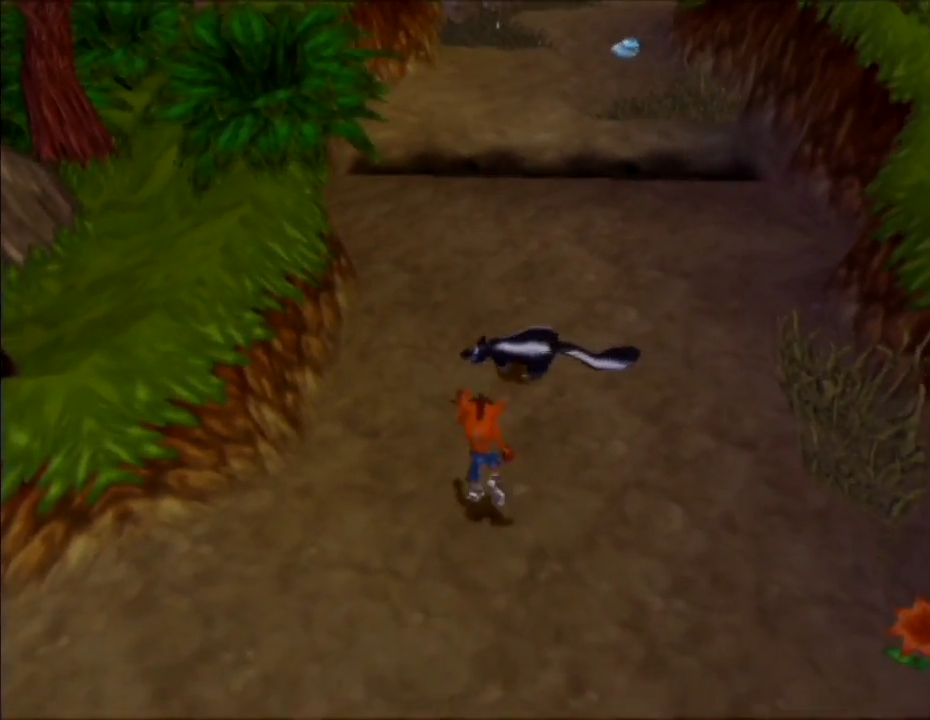
- The second camera angle during the first cutscene is different.
- The first fallen tree has crates on top of it. This layout is done later on in the final game.
- After the turn there is a skunk enemy instead of a double jump tutorial.
- The parrot has a blue-ish texture as opposed to a red-ish one.
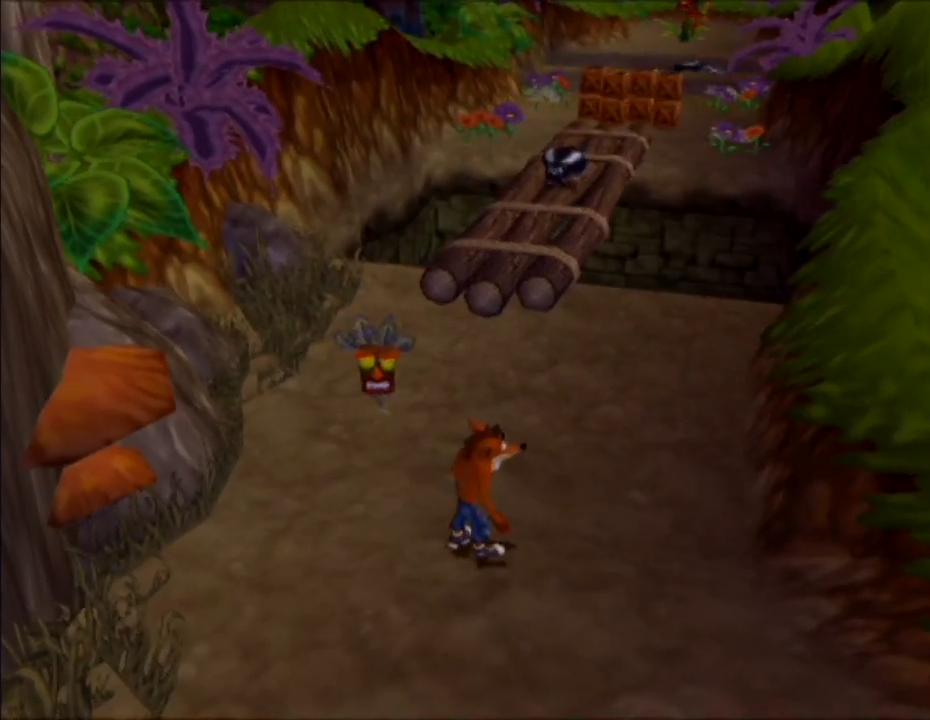
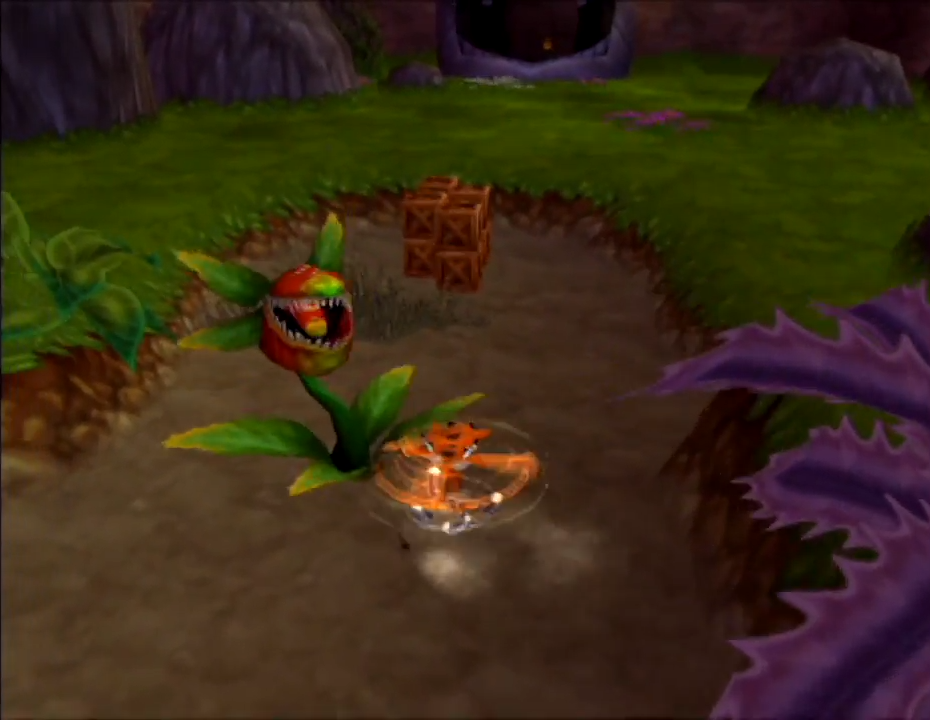
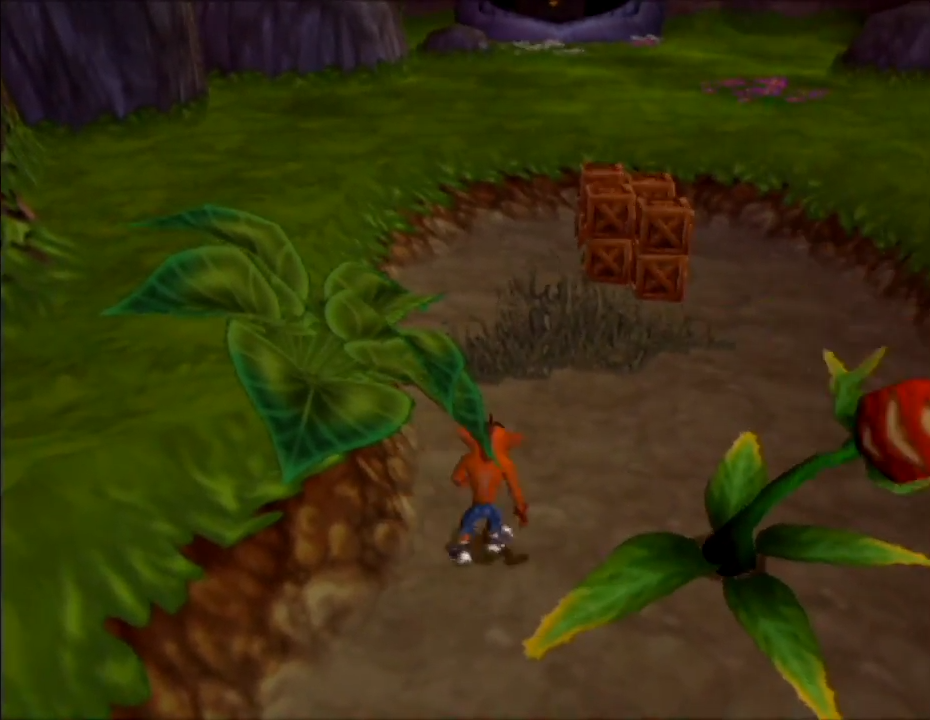
- The crates in this area are placed differently.
- There is no extra section on the left side.
- There are no shielded tribesman in the area, just a piranha plant instead.
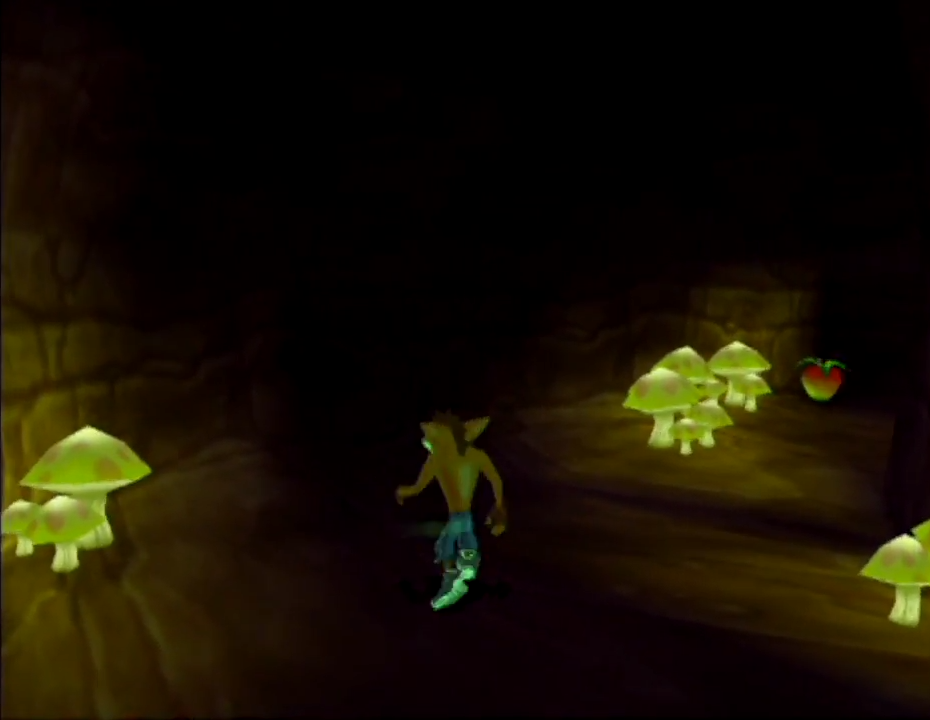
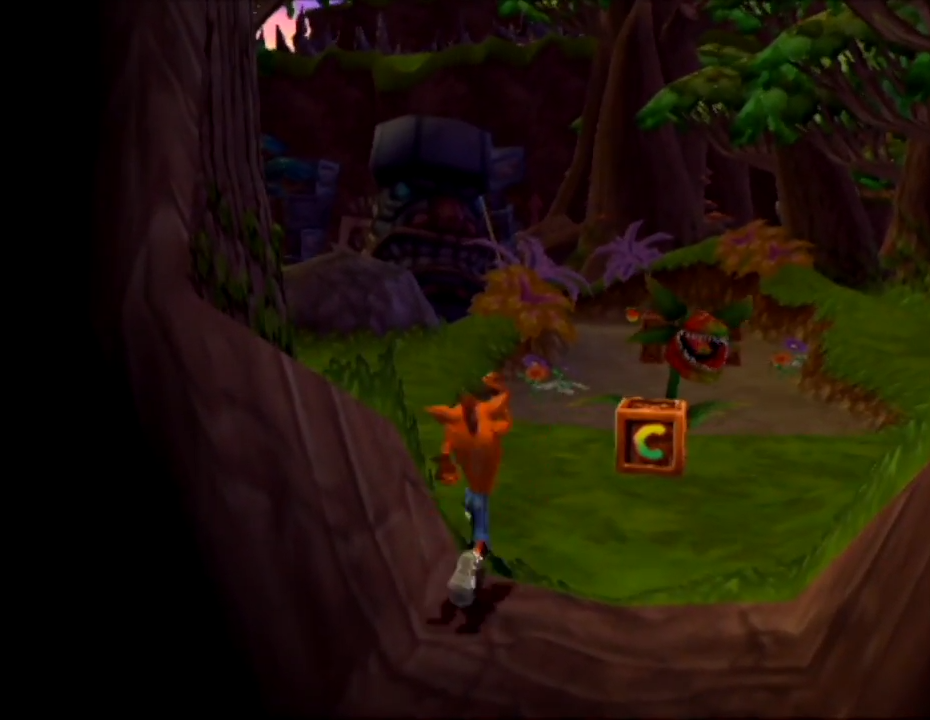
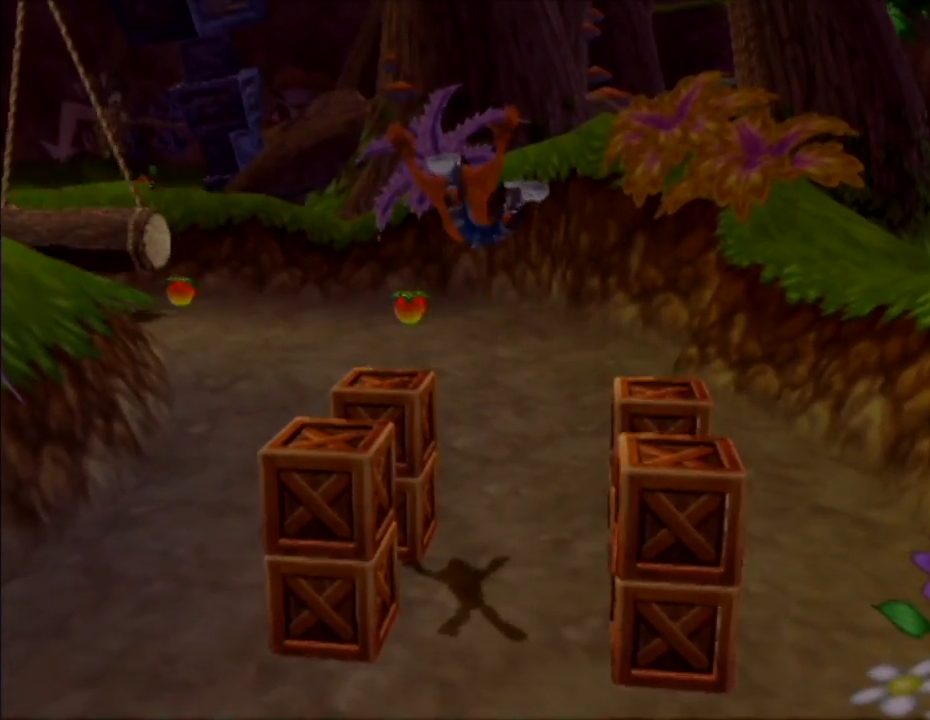
- The cave is shorter and the loading zone is closer to the cave entrance.
- The mushrooms don't emit particles.
- Grass at the end of the cave section is solid, requiring a jump to progress.
- There are crates behind the piranha plant.
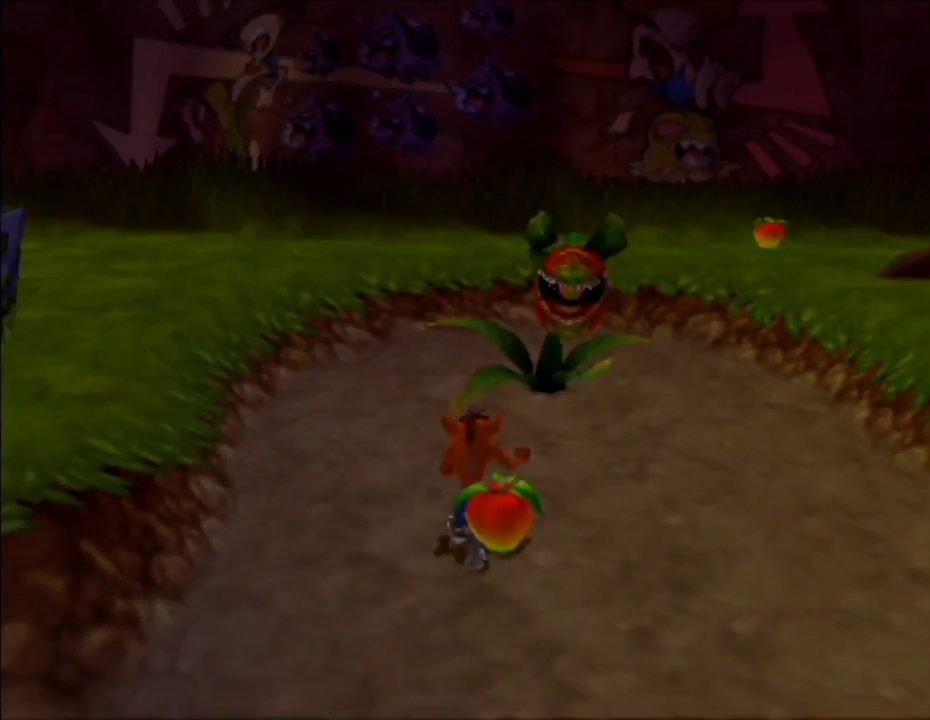
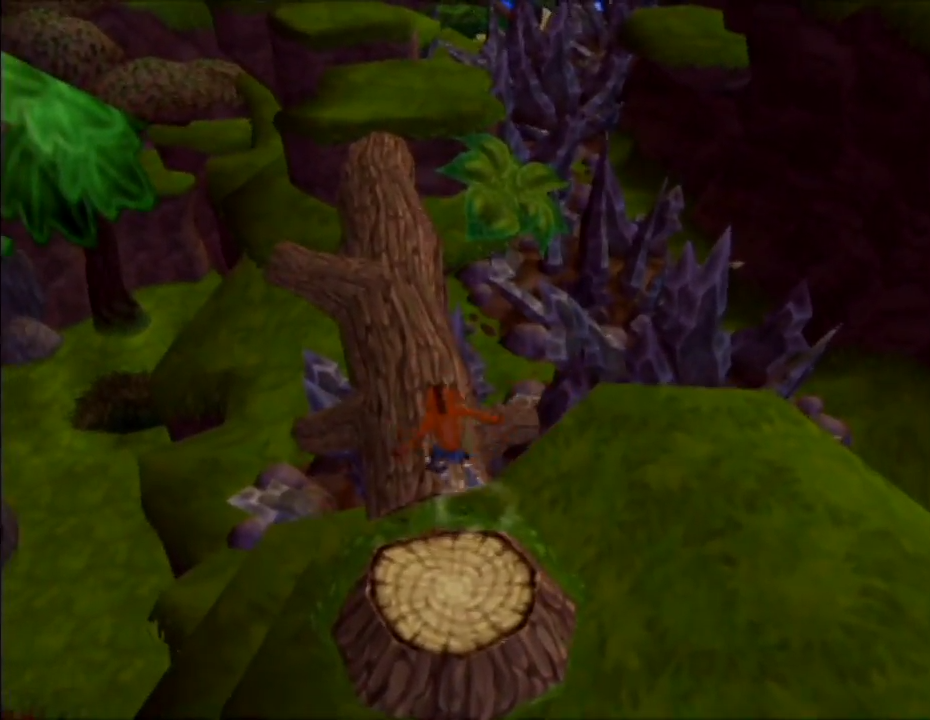
- The path splits in two after the turn, with a piranha plant guarding it.
- On the left side there's a hole leading into a cave area.
- The left path was supposed to lead to the Bug Run at some point, though it's been confirmed to be empty in the build.
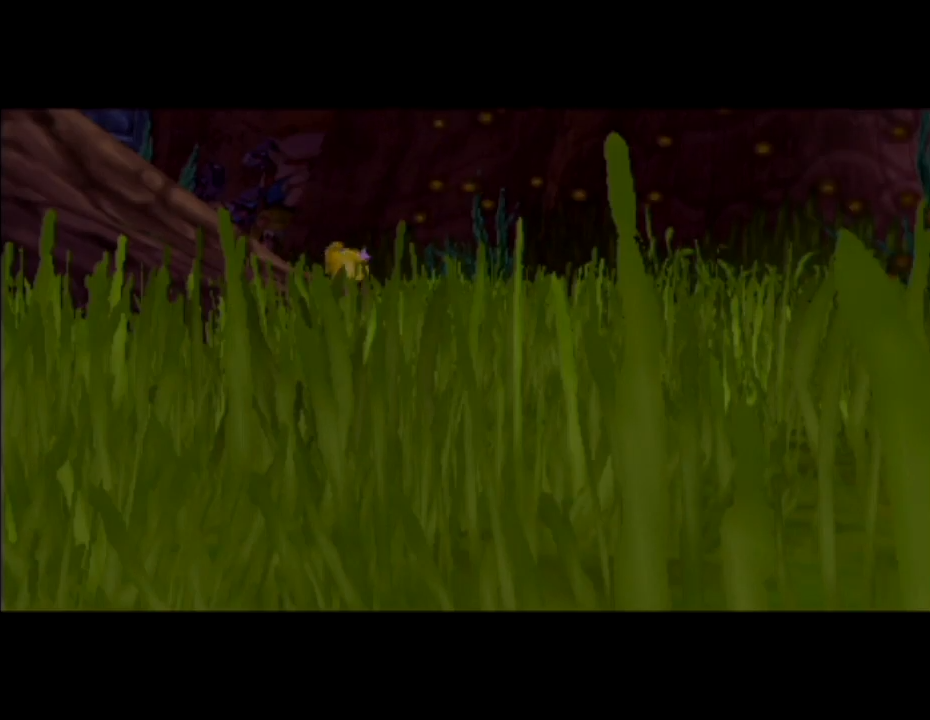
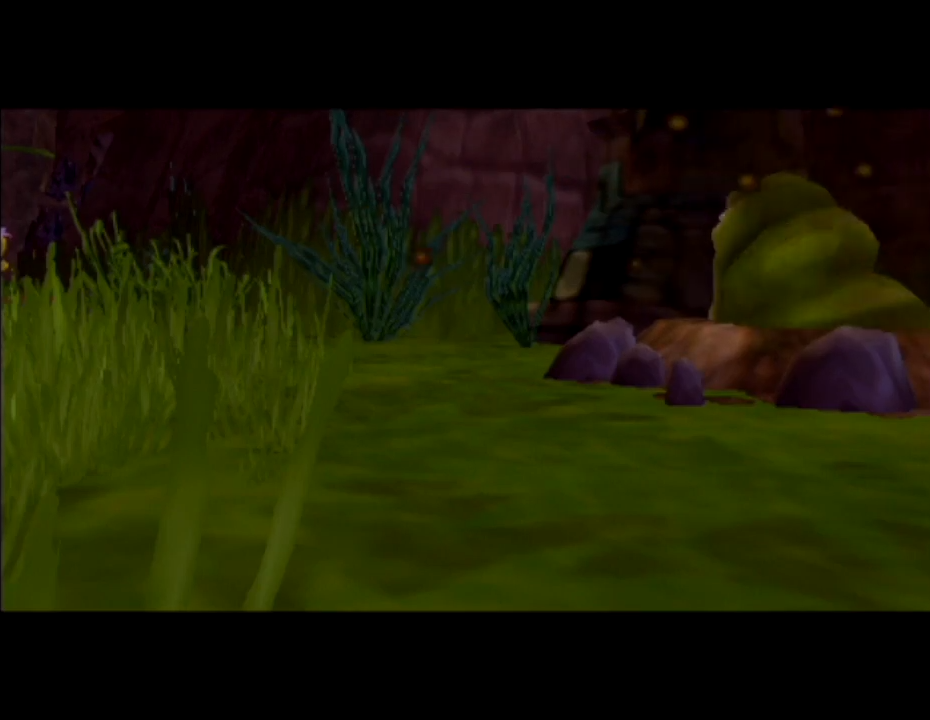
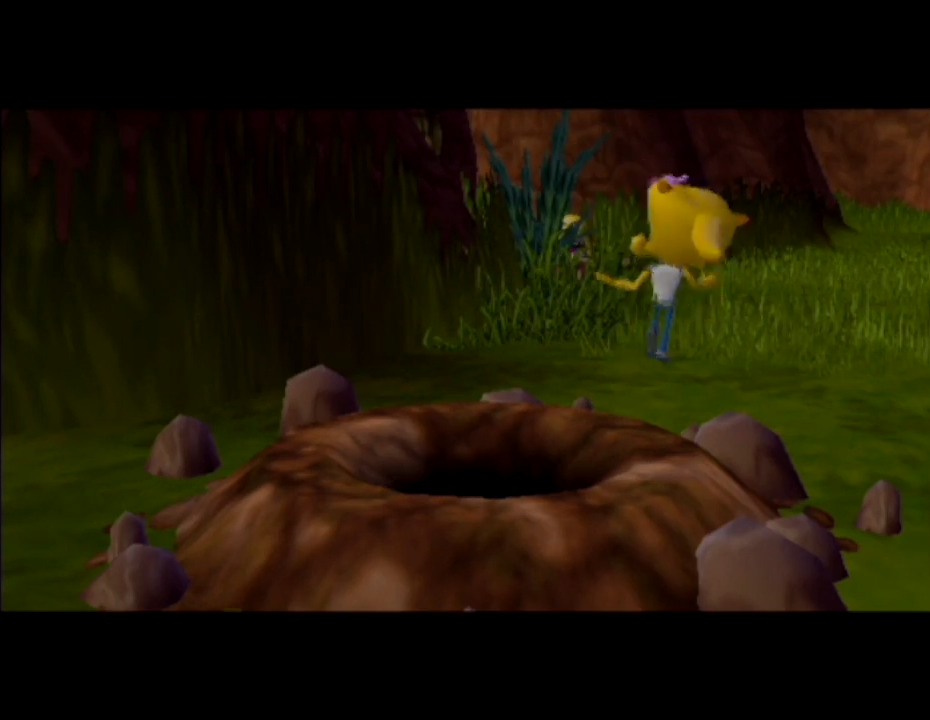
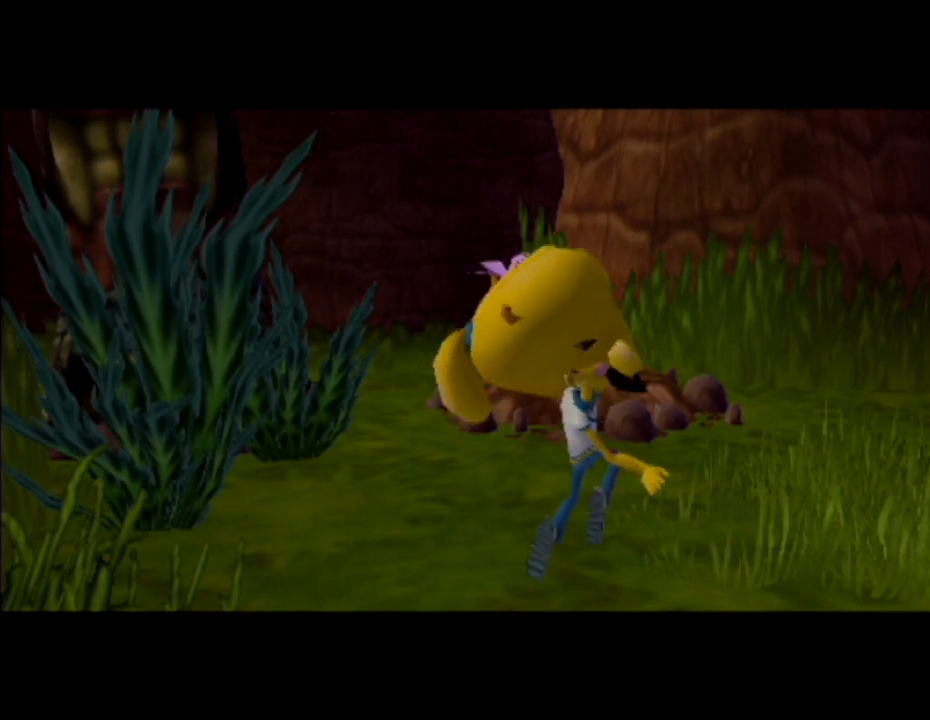
- The worm jump tutorial has 4 additional angles in place of a moving camera.

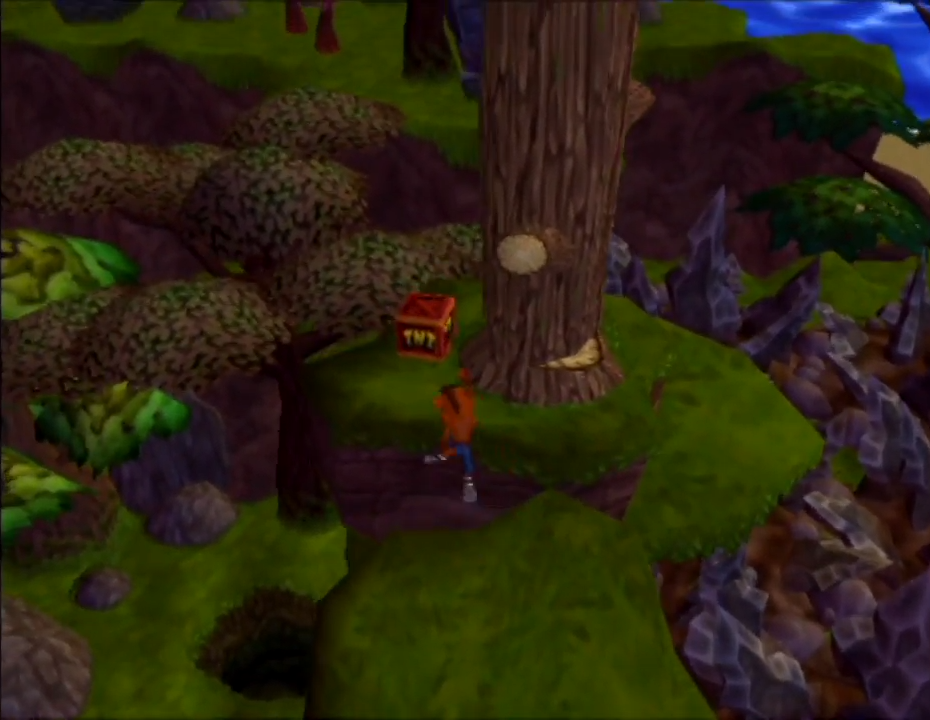
- At the top area spikes guard the pit instead of a harmless lake.
- The detonator puzzle is replaced with another TNT puzzle.
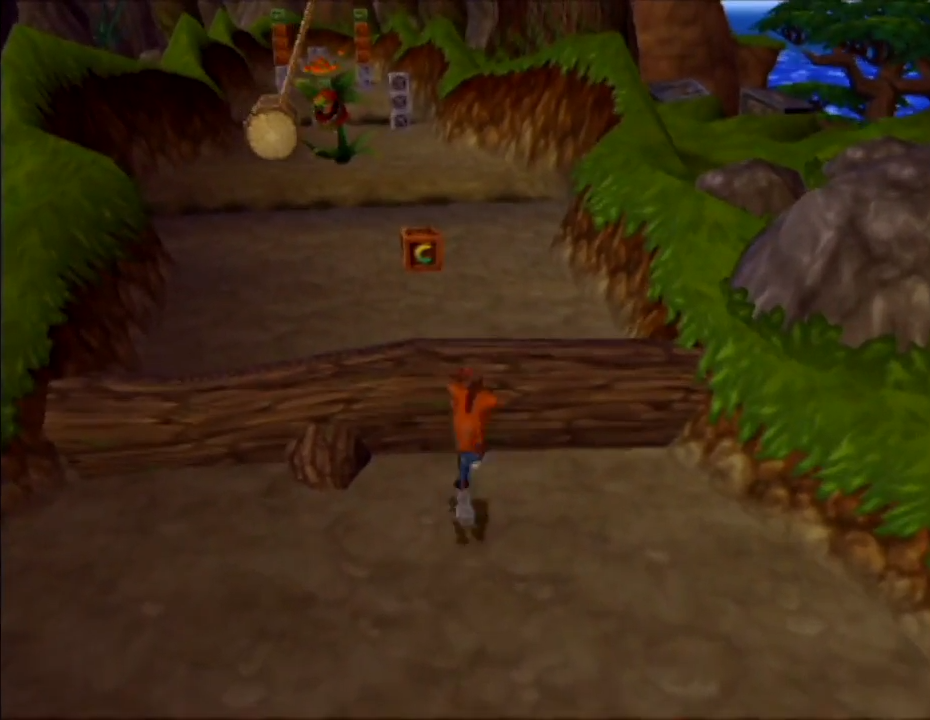
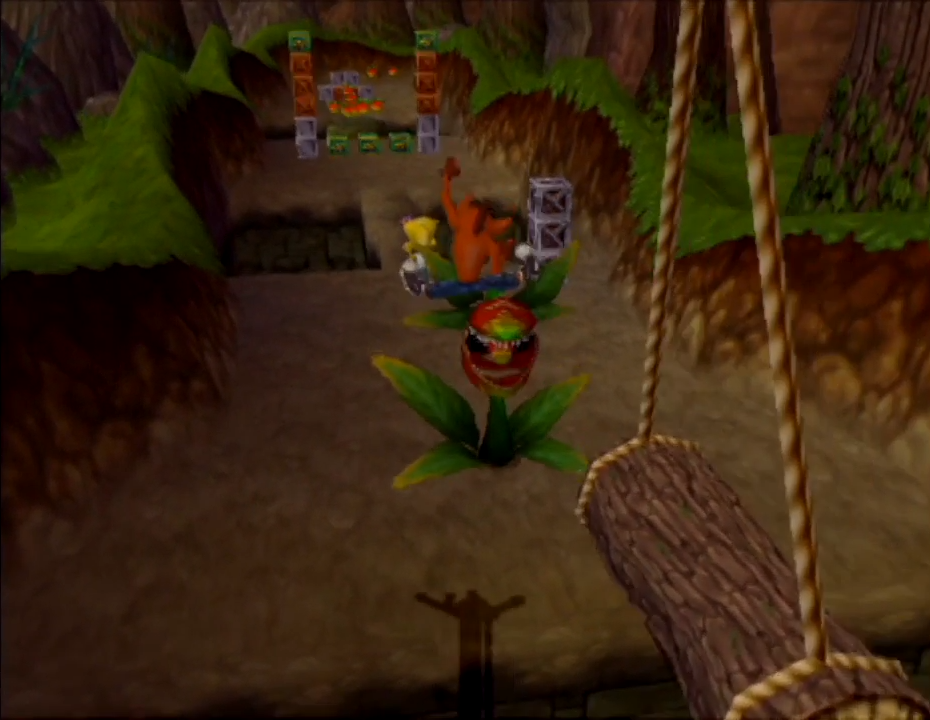
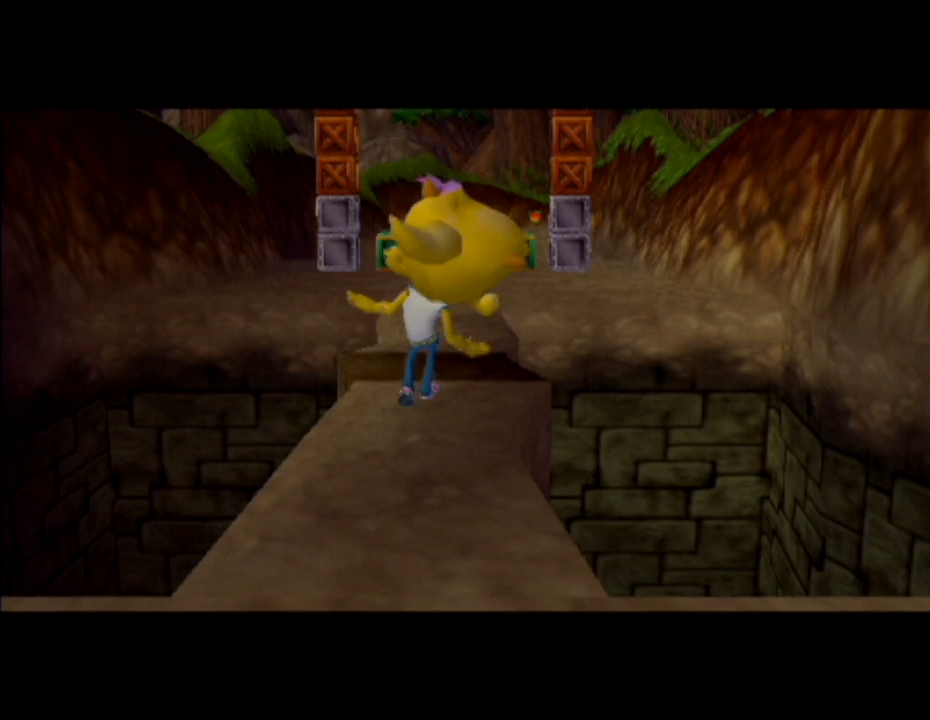
- The checkpoint is closer to the cutscene than usual.
- The piranha plant is also after the swinging log rather than before.
- In this build, CoCortex has trouble getting into position to get hit by the swinging log due to a solid object.
- There are locked crates on the right side of the area.
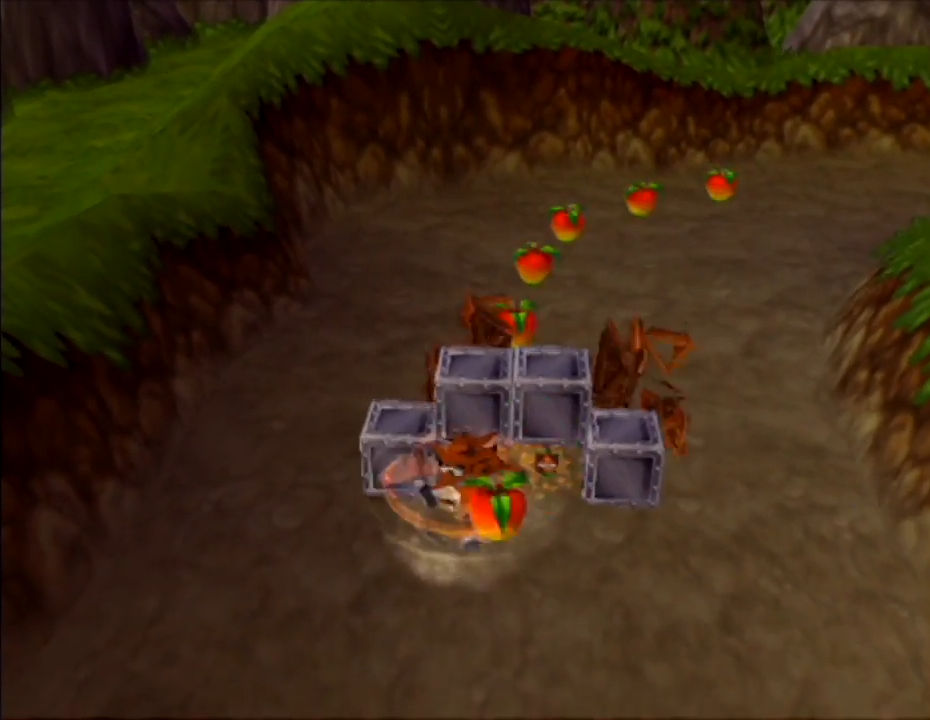
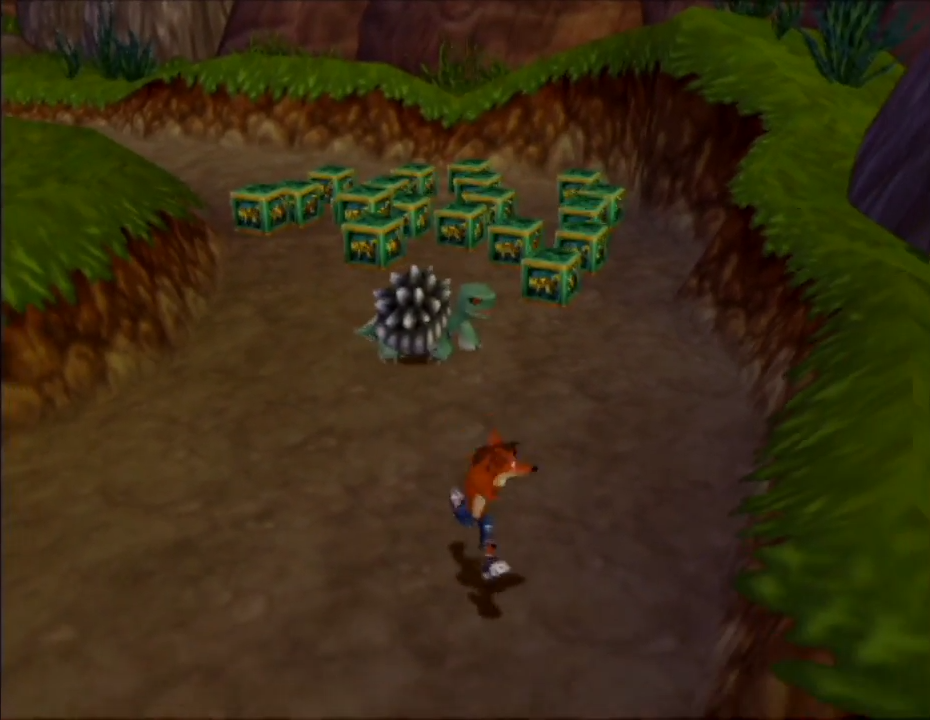
- The turtle guards the area as oppposed to the skunk.
- The build crashes in the boss area, without the boss arena being there.